7 3D Printing Mistakes I Made as a Beginner (And How to Avoid Them)
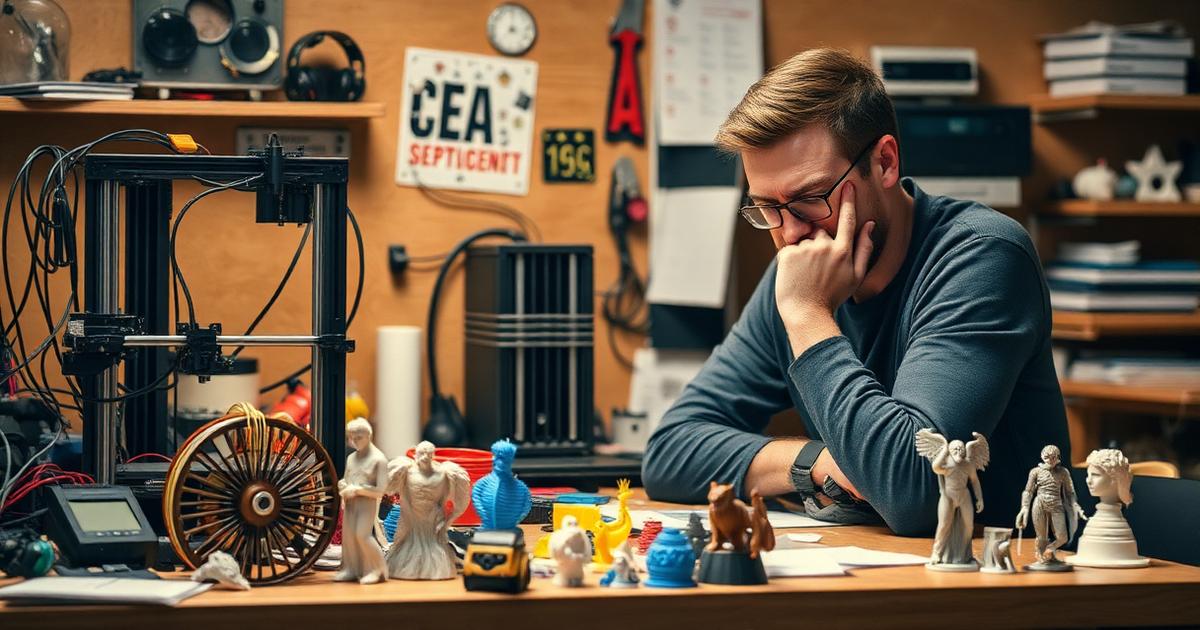
Quick Answer
The most common 3D printing mistakes beginners make are buying the cheapest printer, using low-quality filament, skipping bed leveling, printing too fast, ignoring temperature settings, expecting perfect results instantly, and not investing in a decent setup. Fix these seven things and your prints will improve dramatically.
TL;DR — Quick Summary
7 Beginner Mistakes to Avoid
- 1Mistake #1: Cheap printers cause more frustration than they save money
- 2Mistake #2: Filament quality affects prints more than most beginners realize
- 3Mistake #3: Bed leveling and first layer are the #1 reason for failed prints
- 4Mistake #4: Slowing down and adjusting temperature fixes most quality issues
- 5Key Takeaway: Start with the right setup and skip weeks of frustration
Beginners often make almost every mistake you can think of when they first start 3D printing — wasting rolls of filament, spending hours troubleshooting self-inflicted problems, and getting frustrated enough to nearly give up. Most of it is completely avoidable once you know what to look for.
These are the seven biggest 3D printing mistakes beginners make, and exactly what to do differently from the start. If you're just getting started, read this before buying anything:
Best 3D Printer for Beginners (2025)
A step-by-step guide to picking the right printer without wasting money
Mistake #1 — Buying the Cheapest Printer
Saving $100 on a printer can seem smart, but it often isn't. Ultra-cheap budget kits frequently take an entire weekend to assemble, arrive with a wobbly frame, and clog constantly — leading to more time fixing the printer than actually printing.
Here's what nobody tells you about ultra-cheap printers: the money you save upfront often gets spent many times over in wasted filament, replacement parts, and frustration. A mid-range printer typically avoids most of this trouble from the start.
That doesn't mean you need to spend $1,000. There are excellent printers in the $200–$400 range that just work out of the box. The real trade-offs are covered in the cheap vs expensive 3D printer comparison.
Mistake #2 — Using the Cheapest Filament Available
After overspending on a bad printer, it's tempting to compensate by buying the cheapest filament available on Amazon. No-name brands often have inconsistent diameter, and rolls can absorb moisture before they're even opened.
The result is usually constant clogging, rough surfaces, and prints that look like they've been through a war. It's easy to blame the printer when the filament is actually the real problem. Switching to a reputable brand typically makes a night-and-day difference.
What is Filament Diameter Tolerance?
Filament Diameter Tolerance The consistency of filament thickness throughout a roll. Quality filament maintains ±0.02mm tolerance, while cheap filament can vary by ±0.05mm or more — causing inconsistent extrusion, clogs, and rough surfaces.
You don't need premium filament for every print, but using quality PLA makes everything easier. Top picks are broken down in the best PLA filament guide.
Mistake #3 — Not Leveling the Bed Properly
An unlevel bed is one of the most common reasons prints fail. A print can start fine, then a few minutes later turn into a ball of spaghetti filament stuck to the nozzle. First layer adhesion is everything in 3D printing.
The paper method works, but it has to be done right — and more often than most people expect. Every time the printer is moved, or the build plate changes, the bed needs releveling. Treating bed leveling as a routine instead of a one-time task can take a success rate from around 50% to nearly 100%.
Why Your First Layer Sucks (And How to Fix It)
A step-by-step process to get perfect first layers every time
Best 3D Printer for Beginners (2025)
The ultimate beginner guide — our #1 money page
3D Printer Filament Types and Uses Guide
Complete guide to every filament type with properties and uses
Best 3D Printer for Beginners (2025)
The ultimate beginner guide — our #1 money page
Mistake #4 — Printing Way Too Fast
Seeing others print at 150mm/s can make it tempting to push speeds that high too. But many printers aren't built for it, and pushing beyond their limits tends to cause rough surfaces, layer shifts, and prints that look like they're melting.
Slowing down to 40–60mm/s instantly improves print quality for most machines. It can feel counterintuitive — why print slower when faster is possible? — but the results speak for themselves: smoother layers, better overhangs, and far fewer failed prints.
If prints look rough or have visible layer lines, speed is usually the first thing to check. This is covered in more depth in the guide to fixing rough 3D prints.
Mistake #5 — Ignoring Temperature Settings
It's common for beginners to pick one temperature and stick with it — 200°C for everything, regardless of filament brand, color, or type. But even the same material from different brands can need different temperatures.
Stringing issues often get blamed on the filament, and weak layers often get blamed on the printer, when the real cause is usually a temperature that's 5-10°C off for that particular spool. A simple temperature tower test print can save weeks of frustration.
What is Temperature Tower?
Temperature Tower A calibration print that changes nozzle temperature every few layers, letting you visually compare print quality at different temperatures to find the optimal setting for your specific filament.
Printing a temperature tower with every new roll takes about 20 minutes and can save hours of troubleshooting. Small habit, huge difference.
Mistake #6 — Expecting Perfect Prints Immediately
Seeing incredible prints on Reddit and Instagram can create the expectation that any printer should produce the same quality straight out of the box. When a first Benchy comes out rough and stringy, it's easy to assume something is wrong with the machine.
What those polished prints don't show is the dozens of failed attempts, the hours of calibration, and the post-processing that goes into making a print look perfect. 3D printing has a real learning curve, and that's completely normal.
Accepting that the first 10–20 prints will be learning experiences removes most of the frustration. Every failed print teaches something, and every rough surface points toward a better setting. Give yourself permission to fail — that's how progress actually happens.
Mistake #7 — Not Using the Right Setup
This one is about everything around the printer: the tools, the workspace, and the accessories. Printing on a wobbly desk, with no enclosure, and using the cheapest scrapers and cutters available tends to cause prints to shift from vibrations, drafts to cause warping, and finishes to suffer from poor tools.
A stable surface, a basic set of quality tools, and even something as simple as a glass bed can make a massive difference. You don't need an expensive setup — but you need a thoughtful one.
Bed Adhesion Problems: Real Fixes That Work
The real solutions that actually fix adhesion problems for good
A Recommended Setup (Simple System)
Avoiding these mistakes generally comes down to a simple, reliable setup:
- Reliable printer: A Sovol SV06 or similar — affordable, consistent, and easy to maintain
- Quality filament: Reputable brands stored properly to avoid moisture absorption
- Calibration routine: Bed level check before big prints, temperature tower with new filament
- Moderate speed: 50–60mm/s for quality prints, faster only when finish doesn't matter
- Stable workspace: Solid desk, away from drafts, with basic tools within reach
Nothing fancy or expensive — just consistent habits that produce consistent results.
A full breakdown is available in the Sovol SV06 review.
If You Want to Avoid All of This, Start Here
Skipping most of these mistakes starts with the right setup from the beginning. A complete beginner guide covers everything — printer selection, filament, settings, and first prints.
Best 3D Printer for Beginners (2025)
Everything you need to know before buying your first printer
Starting smart can save weeks of frustration and several rolls of wasted filament, and it makes 3D printing enjoyable from day one.
Best 3D Printer for Beginners (2025)
The ultimate beginner guide — our #1 money page
Best 3D Printer for Beginners (2025)
The ultimate beginner guide — our #1 money page
Frequently Asked Questions
What are common 3D printing mistakes?
The most common mistakes are buying ultra-cheap printers, using low-quality filament, skipping bed leveling, printing too fast, ignoring temperature settings, expecting perfect results from day one, and not investing in a stable workspace. Fixing any one of these can dramatically improve your printing experience.
Why do beginners fail at 3D printing?
Beginners fail because they underestimate how much setup and calibration matter. A cheap printer with cheap filament on default settings will produce frustrating results. Success comes from having reliable equipment, decent materials, and understanding a few basic settings like bed leveling, temperature, and speed.
How do I improve my prints fast?
The fastest improvements come from four changes: slow down your print speed to 40–60mm/s, properly level your bed before every big print, switch to quality filament from a reputable brand, and fine-tune your nozzle temperature with a temperature tower. These fixes alone solve the majority of quality problems.