3D Printer Bed Adhesion Problems: What Actually Works
Prints that peel off the bed mid-print are a classic frustration. First layer looks perfect, then 20 minutes later — spaghetti. Most of the internet's suggested fixes waste time. Here's what actually works.
If you're brand new to 3D printing and still figuring things out, start with the full beginner guide first — a lot of adhesion problems come from setup issues that guide covers in detail.
Quick Answer
Most 3D printer bed adhesion problems come down to three things: improper bed leveling, incorrect Z-offset, and a dirty print surface. Clean your bed with isopropyl alcohol, re-level properly, and fine-tune your Z-offset in 0.02mm increments. If problems persist, a textured PEI build plate eliminates the need for glue or tape entirely.
TL;DR — Quick Summary
How I Fixed Bed Adhesion for Good
- 1Root Cause: Z-offset was too high + oily bed surface
- 2Best Fix: Proper leveling + IPA cleaning + slower first layer
- 3Game Changer: Textured PEI build plate — no more glue
- 4Key Insight: 70% of adhesion problems are bed prep, not settings
What is Bed Adhesion?
Bed Adhesion The ability of the first layer of a 3D print to properly bond to the build plate surface. Good bed adhesion keeps the print anchored during the entire print process, preventing warping, curling, and print failures. Affected by bed temperature, surface cleanliness, Z-offset, and print speed.
Why Do Bed Adhesion Problems Actually Happen?
Understanding what's actually going wrong comes first. Bed adhesion failures almost always come from one of these four things — and sometimes it's all of them at once:
Your bed isn't actually level
"Close enough" isn't close enough — even after leveling it. But here's the thing — "close enough" isn't close enough. A 0.1mm difference at one corner means your nozzle is twice as far from the bed on that side. The paper test works, but you need to do it 2-3 full rounds because adjusting one corner throws off the others.
Your Z-offset is wrong
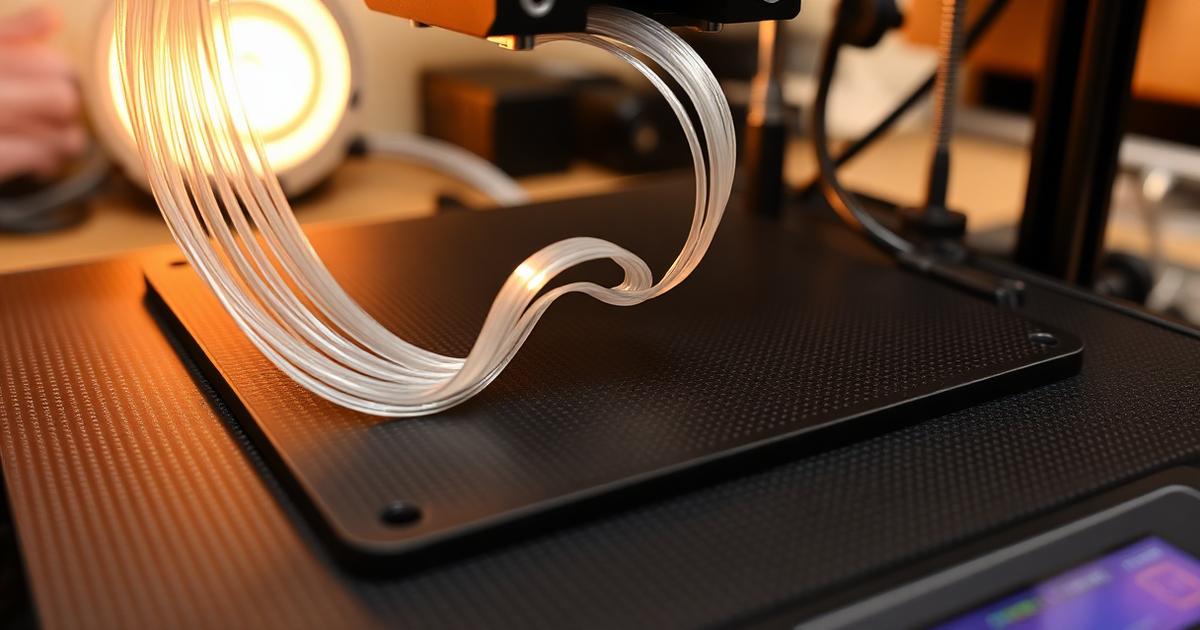
This is the one that got me for weeks. Your bed can be perfectly level, but if the nozzle is 0.1mm too high, the filament just lays on top of the surface instead of squishing into it. The first layer should look like flat ribbons, not round strings.
Your bed surface is contaminated
Every time you touch the bed with your fingers, you leave oils. Every time you remove a print, residue stays behind. Over time, that invisible layer of gunk makes it impossible for filament to bond. A dirty bed left uncleaned for weeks is a common culprit.
Your first layer speed is too fast
Printing the first layer at 50mm/s when you need 20mm/s is like trying to paint a wall while jogging. The filament doesn't have time to properly bond to the surface. Slow the first layer down — it adds maybe 3 minutes to a print but fixes so many adhesion problems.
Here's what nobody tells you: it's usually not just one of these — it's two or three combined. That's why fixing one thing never seems to fully solve it.
3D Printer First Layer Problems — Complete Fix Guide
First layer adhesion is just one piece of the puzzle. The full first layer guide covers common issues in detail.
Fixes That Didn't Work
Most people work through the same "desperate Googling" phase first. Here is what usually wastes time:
The Hall of Failed Fixes
"Just use a glue stick"
Worked sometimes, but inconsistently. Some areas stuck too well (had to pry prints off), other areas didn't stick at all. Plus the mess — dried purple glue all over the bed. Not a real solution.
"Try hairspray"
It leaves a strong smell, and the spray is rarely even across the bed, creating inconsistent adhesion zones. Skip it.
"Increase bed temperature to 70°C"
This usually makes things worse for PLA — the bottom of prints deforms (elephant's foot). Around 55-60°C is the useful range, not more.
"Use a raft or brim on everything"
Sure, rafts help adhesion. But then you have an ugly bottom surface and waste filament every print. This was a bandaid, not a fix.
"Replace your bed with glass"
Glass is flat, which is great. But PLA doesn't stick well to glass without adhesive, which brings the glue stick problem right back. A lateral move at best.
Cycling through these "solutions" for weeks treats symptoms instead of the actual problem. The issue usually isn't a need for a magic adhesive — it's that the fundamentals are wrong.
What Actually Fixes Bed Adhesion (Step-by-Step)
Here's the process that takes prints from "50% fail" to "can't remember the last time one lifted." It's not glamorous, but it works.
Re-Level the Bed (Properly This Time)
It's tempting to skip this step. But do it again, and do it right:
- • Heat the bed to your normal print temp first (60°C for PLA)
- • Wait 5 minutes for thermal expansion to stabilize
- • Use the paper method at all four corners AND the center
- • Repeat the entire process 2-3 times — adjusting one corner shifts the others
- • The paper should drag with slight friction — if it moves freely, you're too high
This alone resolves a large share of adhesion problems. Leveling cold and only checking corners once is a common mistake.
Fine-Tune the Z-Offset
After leveling, adjust the Z-offset while printing a first layer test pattern. Here's the trick:
- • Start a first layer calibration print (most slicers have one built in)
- • Watch the filament as it lays down — it should be flat ribbons, not round strings
- • If you can see gaps between lines → lower the Z-offset by 0.02mm
- • If the nozzle is scraping or the filament looks transparent → raise it 0.02mm
- • The sweet spot: lines merge together smoothly with a slight "squish"
This is often the single biggest improvement. Printing 0.05mm too high is easy to miss by eye.
Clean the Bed Surface — Really Clean It
This is the step most people skip or half-do:
- • Use 90%+ isopropyl alcohol (not 70% — too much water)
- • Wipe with a lint-free cloth or paper towel — no regular towels
- • Wipe in one direction, don't scrub in circles
- • Never touch the bed surface with bare fingers after cleaning
- • Deep clean with warm water and dish soap every 10-15 prints
Doing this before every print session takes 30 seconds and drops adhesion problems immediately.
Slow Down the First Layer
In your slicer settings:
- • Set first layer speed to 20-25mm/s (even if your normal speed is 60-100mm/s)
- • Set first layer flow to 100-105% (slight over-extrusion helps adhesion)
- • Use a first layer height of 0.28mm for 0.4mm nozzles (wider lines grip better)
- • Disable first layer cooling fan completely
Printing first layers at 40mm/s is common. Dropping to 20mm/s feels painfully slow but the difference is night and day.
That's it. Four steps. No magic adhesive, no hardware mods, no expensive upgrades. Just fundamentals done right. Nailing these four things can take an adhesion success rate from around 50% to well over 95%.
The Game-Changer That Made the Biggest Difference
The four steps above will fix most adhesion problems. But it's possible to go further and stop thinking about adhesion entirely.
The single biggest upgrade was switching to a textured PEI build plate. If you're using the stock build surface that came with your printer (usually a flexible magnetic sheet or bare aluminum), upgrading to PEI changes the game completely.
Here's why:
- PLA bonds to PEI at temperature — no glue, no tape, no hairspray. Just heat the bed to 60°C and print.
- Prints release when cool — let the bed cool to room temp and prints literally pop off with a light push. No scraping.
- The texture hides any minor imperfections — your bottom surface looks professional every time.
- It lasts for hundreds of prints — wipe with IPA between prints and you're good.
Best PEI Build Plate for 3D Printers (2025)
Compare PEI build plates by surface, compatibility, specifications, and value.
But here's the honest truth: a PEI plate only works properly if your bed is level and your Z-offset is right. It's not magic — it just makes a well-calibrated printer even more reliable. If you skip the fundamentals, even PEI won't save you.
The other piece is filament quality. Cheap no-name PLA often has terrible diameter consistency — ±0.08mm swings mean the extrusion rate varies wildly, and some spots adhere while others don't. Switching to reliable filament with tight tolerances makes the remaining share of adhesion problems vanish.
A Setup That Works Every Single Time
Here's a setup that reliably gives zero adhesion problems:
The "Never Think About Adhesion Again" Setup
The SV06 review covers the full breakdown. But the short version: it solves most adhesion problems before troubleshooting even starts, because the auto-leveling and PEI bed handle the two biggest causes automatically.
Quick Fix Checklist (Save This for Later)
Next time your prints won't stick, run through this checklist in order:
Clean the bed with 90%+ isopropyl alcohol
Re-level the bed (heated, 2-3 full passes)
Check Z-offset — first layer should be flat ribbons, not round strings
Set first layer speed to 20-25mm/s
Set bed temp to 55-60°C for PLA
Disable first layer fan
Set first layer height to 0.28mm (for 0.4mm nozzle)
Check filament for moisture — if popping, dry it first
Make sure bed surface isn't worn or damaged
If you go through all nine steps and prints still won't stick, there's a chance your bed surface is worn out or your printer has a mechanical issue (warped bed, loose Z-axis). At that point, it's worth considering an upgrade rather than fighting the hardware.
Best 3D Printing Bed Adhesive (2025)
If you still prefer using an adhesive, here are the ones that actually work consistently.
If You're Still Having Problems, Read This Next
Sometimes the problem isn't technique — it's the printer.
Budget printers with warped aluminum beds, manual leveling that won't stay calibrated, and flimsy Z-axis rails will give you adhesion problems no matter how perfectly you follow every step above. Troubleshooting adhesion on a printer with a visibly bowed bed can drag on for weeks. No amount of leveling fixes physics.
If everything in this guide has been tried and adhesion is still a fight on every print, it might be time to look at the hardware. Here's a breakdown of the most reliable beginner options:
Best 3D Printer for Beginners (2025)
A full guide to picking a reliable first printer — including models with auto-leveling and PEI beds that eliminate most adhesion problems.
A printer with auto bed leveling and a PEI build plate eliminates two of the four major adhesion causes right out of the box. That's not marketing — that's just fewer things that can go wrong.
Fix This Once and You're Good
Bed adhesion problems feel overwhelming when you're in the middle of them. Every failed print eats away at your patience and your filament budget. But here's the good news: this is a solvable problem with a permanent solution.
Once you nail your leveling, dial in your Z-offset, keep your bed clean, and slow down that first layer — you stop thinking about adhesion. It just works. Print after print.
The combination of a reliable printer, consistent filament, and good bed prep habits means I haven't had an adhesion failure in months. Not one. And that's on a setup that costs less than some people spend on glue sticks and tape in a year.
Ready to stop fighting your bed? Here's the setup I trust:
Frequently Asked Questions
Why won't my 3D prints stick to the bed?
The most common causes are improper bed leveling, Z-offset set too high, a dirty or oily print surface, wrong bed temperature, or printing the first layer too fast. Start by cleaning your bed with isopropyl alcohol and re-leveling — this fixes about 70% of adhesion problems.
What helps 3D printer bed adhesion?
Proper bed leveling, correct Z-offset, a clean print surface, and appropriate bed temperature (55-60°C for PLA). A textured PEI build plate gives the best adhesion without needing glue or tape. Slowing your first layer speed to 20-25mm/s also helps significantly.
Is my 3D printer causing adhesion issues?
Sometimes, yes. Printers with warped beds, loose mechanics, or inconsistent Z-axis movement cause adhesion problems that can't be fixed by leveling alone. If you've tried everything and still have issues, the hardware itself may be the weak link. Printers with auto bed leveling and PEI surfaces like the Sovol SV06 eliminate most common adhesion causes.
Should I use glue stick or hairspray for 3D printing?
They work as temporary fixes, but they're messy and inconsistent. A textured PEI build plate provides better adhesion without any additives — prints stick when hot and pop off when cool. If you must use an adhesive, washable glue stick is cleaner than hairspray.
What bed temperature should I use for PLA?
55-60°C for PLA. Going higher than 65°C can cause "elephant's foot" where the first layer squishes outward. PETG prefers 70-80°C, and ABS needs 90-110°C. Match bed temperature to your filament type for best results.