Best Bed Adhesion for 3D Printing: Practical Fixes That Work
By Chris Avery, Publisher / Editor
Prints that peel, warp, and come loose mid-print are one of the most common frustrations in 3D printing. Here's what actually solves it — and what wastes time.
Prints can fail before they even get started, leaving a bird's nest of filament stuck to the nozzle with the model long gone from the bed. It happens with PLA, it happens with PETG — it doesn't matter. The filament just won't stay down.
The forums suggest everything: glue sticks, hairspray, blue painter's tape, adjusting temperatures by 5-degree increments, re-leveling the bed for the hundredth time. Some things help temporarily. Most don't. The best bed adhesion for 3D printing comes down to just a few things done right — not dozens of random fixes.
This guide focuses on the fixes that reliably solve bed adhesion problems, in the order worth trying them.
If you're new to 3D printing, start here first: Best 3D Printer for Beginners (2025) — picking the right printer eliminates half of these adhesion issues from day one.
Quick Answer
The best bed adhesion for 3D printing comes from a clean textured PEI sheet at the correct temperature, with proper bed leveling. For PLA, use 60°C with no adhesive. For PETG and larger prints, add a thin layer of glue stick or Magigoo. Fix your leveling and clean your bed — that solves 90% of adhesion problems.
TL;DR — Quick Summary
How to Fix 3D Print Bed Adhesion
- 1Best Surface: Textured PEI spring steel sheet
- 2Best Adhesive: Magigoo or glue stick
- 3Best Budget Fix: Clean bed + proper leveling (free)
- 4Key Temperature: 60°C PLA, 70-80°C PETG
- 5First Layer Speed: 20-25mm/s (slower = better stick)
What is Bed Adhesion?
Bed Adhesion How well the first layer of a 3D print sticks to the build plate. Good bed adhesion means the print stays firmly attached during the entire print. Poor adhesion leads to warping, curling, or the print detaching completely — ruining the print and wasting filament.
Why Prints Don't Stick (The Real Reasons)
Understanding what's actually going wrong comes first. Most adhesion problems come down to four things — and they're usually happening at the same time.
Bed Leveling Is Off
This is the #1 cause. If your nozzle is even slightly too far from the bed, the filament doesn't get squished down enough to bond. Too close, and the nozzle scrapes the bed and blocks extrusion. It's easy to be convinced a bed is level — until checking with a piece of paper reveals one corner is way off. For a deeper dive into first layer problems, the first layer troubleshooting guide covers everything.
Wrong Bed Temperature
Every filament type has a sweet spot for bed temperature. PLA likes 55-60°C. PETG wants 70-80°C. ABS needs 90-110°C. Too low and the filament cools too fast and won't bond. Too high and the first layer stays soft and can deform. Running the bed at 50°C for everything is a common early mistake that leads nowhere.
Dirty or Worn Build Surface
Your fingers leave oils on the bed. Filament residue builds up. Over time, even a good PEI sheet loses its grip if you don't clean it. Cleaning is easy to skip, but a quick wipe with isopropyl alcohol often restores grip immediately.
Filament Quality Issues
Wet or cheap filament doesn't stick as well. If your filament has absorbed moisture, it pops and sputters during printing, creating a rough first layer that can't bond properly. If you're dealing with filament quality issues, see the best PLA filament picks — good filament makes a massive difference.
Fixes That Don't Work
Here are the things that waste time, so they can be skipped.
Random Forum Fixes
"Try hairspray." "Use sugar water." "Rub your bed with an onion." I'm not making that last one up. Hairspray on a glass bed can work once, then leaves a sticky residue that makes every following print worse. Forum advice is a grab-bag — some of it works in specific situations, but most of it is people guessing.
Guessing at Temperatures
Adjusting bed temperature by 1-2 degrees at a time, thinking that's the problem, wastes a lot of time. It isn't. The real issue was leveling and surface condition. Temperature matters, but it's rarely the root cause when everything else is wrong too.
Cheap Bed Surface "Upgrades"
Ultra-cheap "PEI stickers" are often just thin plastic with adhesive backing. They tend to bubble, create uneven spots, and can perform worse than a stock glass bed. Not all PEI is created equal.
What Actually Fixes Adhesion Issues
After all the trial and error, three changes made the real difference. In this order.
1. Actually Learning to Level the Bed
This doesn't mean running auto-level once and forgetting about it — it means understanding what the correct nozzle-to-bed distance looks like. The paper test is still the best starting point — you want slight resistance when dragging the paper, not free movement and not stuck. On printers with auto bed leveling (like the Sovol SV06), you still need to set the Z-offset correctly. That's the step most people skip.
2. Dialing In the Right Temperature
Once leveling is right, keep the bed at 60°C for PLA and leave it there. PETG generally works well around 75°C, and ABS around 100°C with an enclosure. Consistency beats guesswork.
3. Switching to a Real PEI Sheet
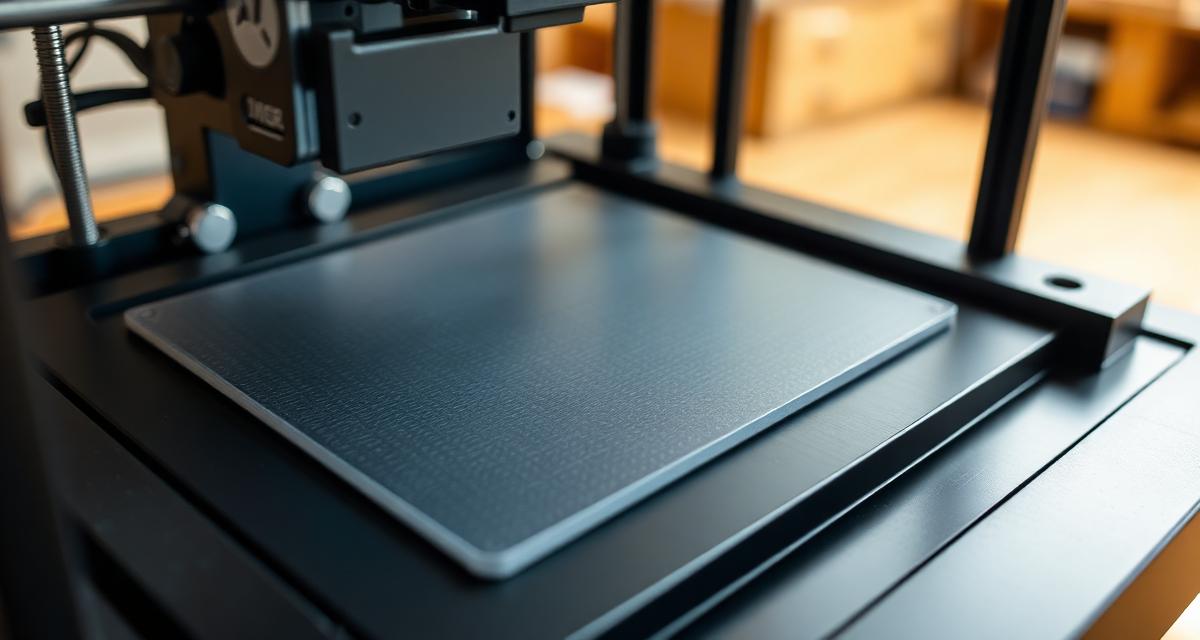
This is the game changer. Replacing a stock glass bed with a textured PEI spring steel sheet makes an immediate difference. Prints stick when the bed is hot and pop right off when it cools down. No adhesive needed for PLA. No scraping. No frustration.
If prints are coming out rough in general, not just with adhesion issues, the rough prints troubleshooting guide covers the other common causes.
Best 3D Printer for Beginners (2025)
The ultimate beginner guide — our #1 money page
3D Printer Filament Types and Uses Guide
Complete guide to every filament type with properties and uses
Best 3D Printer for Beginners (2025)
The ultimate beginner guide — our #1 money page
Best Bed Adhesion Solutions (Real Picks)
These are the products and methods that actually work, ranked by priority.
Best Overall Solution — Textured PEI Spring Steel Sheet
A quality textured PEI sheet is the single best upgrade you can make for bed adhesion. It provides excellent grip when heated and releases prints cleanly when cooled. No adhesive needed for PLA, and a light application of glue stick handles everything else.
Make sure you get a magnetic sheet system — you pop the whole sheet off the printer, flex it slightly, and the print falls right off. It saves so much time compared to scraping prints off a glass bed. For detailed PEI sheet reviews, check the best PEI build plate guide.
Best Budget Option — Glue Stick on Glass Bed
If you don't want to buy anything new, a regular Elmer's glue stick on your stock bed works surprisingly well. Apply a thin, even layer, let it dry slightly, and print. It costs about $2 and genuinely improves adhesion for most filaments. The downsides? You need to reapply it regularly, and it leaves residue that needs cleaning. But as a free fix, it's hard to beat.
Best Long-Term Solution — PEI Sheet + Magigoo
For the absolute best adhesion with any filament, combine a textured PEI sheet with Magigoo adhesive for the tricky materials. Magigoo is specifically designed for 3D printing — it goes on thin, dries clear, and provides incredible hold. It suits PETG, ABS, and any print with a small contact area on the bed. One bottle lasts months because you need so little. For a full review of adhesive options, check out my best bed adhesive roundup.
Glue Stick vs Adhesive vs PEI Sheets
Here's an honest comparison of all three:
| Method | Cost | Adhesion | Convenience | Best For |
|---|---|---|---|---|
| Glue Stick | $2 | Good | Low (reapply often) | Budget fix, quick solution |
| Magigoo / 3DLac | $15-20 | Excellent | Medium | PETG, ABS, tricky prints |
| PEI Sheet | $20-35 | Excellent | High (no adhesive needed) | PLA, daily printing, long-term |
| PEI + Magigoo | $35-55 | Best possible | High | All filaments, any print |
The takeaway: If you're on a budget, a glue stick gets you through. If you want to stop thinking about adhesion entirely, get a PEI sheet. If you print with multiple filament types regularly, PEI + Magigoo covers everything.
A Dependable Setup (What Works Every Time)
A dependable everyday setup looks like this:
The "Never Worry About Adhesion Again" Setup
- Printer: Sovol SV06 — auto bed leveling handles the hard part
- Bed Surface: Textured PEI spring steel sheet (magnetic)
- PLA Settings: 60°C bed, no adhesive, 25mm/s first layer
- PETG Settings: 75°C bed, thin layer of glue stick, 20mm/s first layer
- Maintenance: Wipe with isopropyl alcohol before every print
The Sovol's auto leveling takes care of the biggest variable, and the PEI sheet handles the rest. It's boring in the best possible way — hit print and walk away knowing it'll work.
Common Adhesion Mistakes
Even with the right setup, these mistakes will sabotage your adhesion:
Touching the Bed Surface
Your fingers leave oils that destroy adhesion. Handling the PEI sheet only by the edges makes a noticeable difference immediately. If you do touch it accidentally, a quick wipe with isopropyl alcohol fixes it. This alone solves a surprising number of "mystery" adhesion failures.
Printing the First Layer Too Fast
Your slicer's default speed might be fine for upper layers but too fast for the first layer. Slow it down to 20-25mm/s. This gives the filament time to properly bond to the bed surface. Setting the first layer speed separately in the slicer makes an immediate difference.
Skipping the "Boring" Maintenance
Clean your bed before every print. Check your leveling every few prints. Replace your PEI sheet when it gets worn (usually after 6-12 months of daily use). These are the boring habits that separate people who fight adhesion constantly from people who never think about it.
If Your Prints Still Won't Stick, Start Here
If you've tried everything in this guide and your prints still won't stick, the problem might be your printer itself. Some budget printers have warped beds from the factory, inconsistent heating, or Z-axis issues that no amount of adhesive will fix.
That's not your fault — it's a hardware limitation. If you're fighting your printer more than you're printing, it might be time for an upgrade that comes with auto leveling and a properly engineered bed system.
Best 3D Printer for Beginners (2025)
A breakdown of the best beginner-friendly printers that come with auto leveling and reliable bed adhesion out of the box
Best 3D Printer for Beginners (2025)
The ultimate beginner guide — our #1 money page
Best 3D Printer for Beginners (2025)
The ultimate beginner guide — our #1 money page
Final Thoughts — Fix This Once and You're Good
Bed adhesion problems feel overwhelming when you're in the middle of them. Every print fails, every fix seems temporary, and it's easy to think your printer is broken.
But here's the good news: this is a solvable problem, and once you solve it, it stays solved. Get your leveling right, keep your bed clean, and use a proper PEI sheet. That combination handles 95% of everything you'll ever print.
With a clean plate, correct first-layer height and steady bed temperature, overnight prints stop being a gamble. Stop fighting adhesion and start enjoying printing.
Affiliate Disclosure: Some links in this article are affiliate links. If you purchase through them, this site may earn a small commission at no extra cost to you. Recommendations are editorial judgments based on the criteria explained in this guide. Read the full disclosure policy.
Frequently Asked Questions
Why won't my prints stick to the bed?
The most common reasons are incorrect bed leveling (nozzle too far from the bed), wrong bed temperature, a dirty or worn build surface, and printing the first layer too fast. Start by re-leveling your bed, cleaning the surface with isopropyl alcohol, and slowing your first layer speed to 20-25mm/s.
What helps 3D prints stick better?
A clean textured PEI sheet at the right temperature is the most reliable solution. For PLA, use 60°C with no adhesive. For PETG, use 75°C with a thin layer of glue stick. Proper bed leveling and a slow first layer speed (20mm/s) make the biggest difference overall.
Do I need glue for 3D printing?
Not always. A clean PEI sheet works without adhesive for most PLA prints. However, glue stick or Magigoo helps significantly with PETG, ABS, and large prints that tend to warp. Glue also acts as a release agent for PETG on PEI, which actually prevents the filament from bonding permanently to the sheet.
What is the best bed surface for 3D printing?
A textured PEI spring steel sheet is the best all-around bed surface. It grips when hot and releases when cool. Double-sided PEI sheets (smooth + textured) offer the most versatility for different filaments and print types.
Why do my prints lift at the corners?
Corner lifting (warping) happens when edges cool faster than the center, causing them to contract and peel off. Fix it by increasing bed temperature by 5°C, using a brim in your slicer, eliminating drafts near your printer, and applying adhesive to the corners. An enclosure helps significantly for ABS.