Easiest 3D Printers for Multi-Color Printing: Beginner's Guide
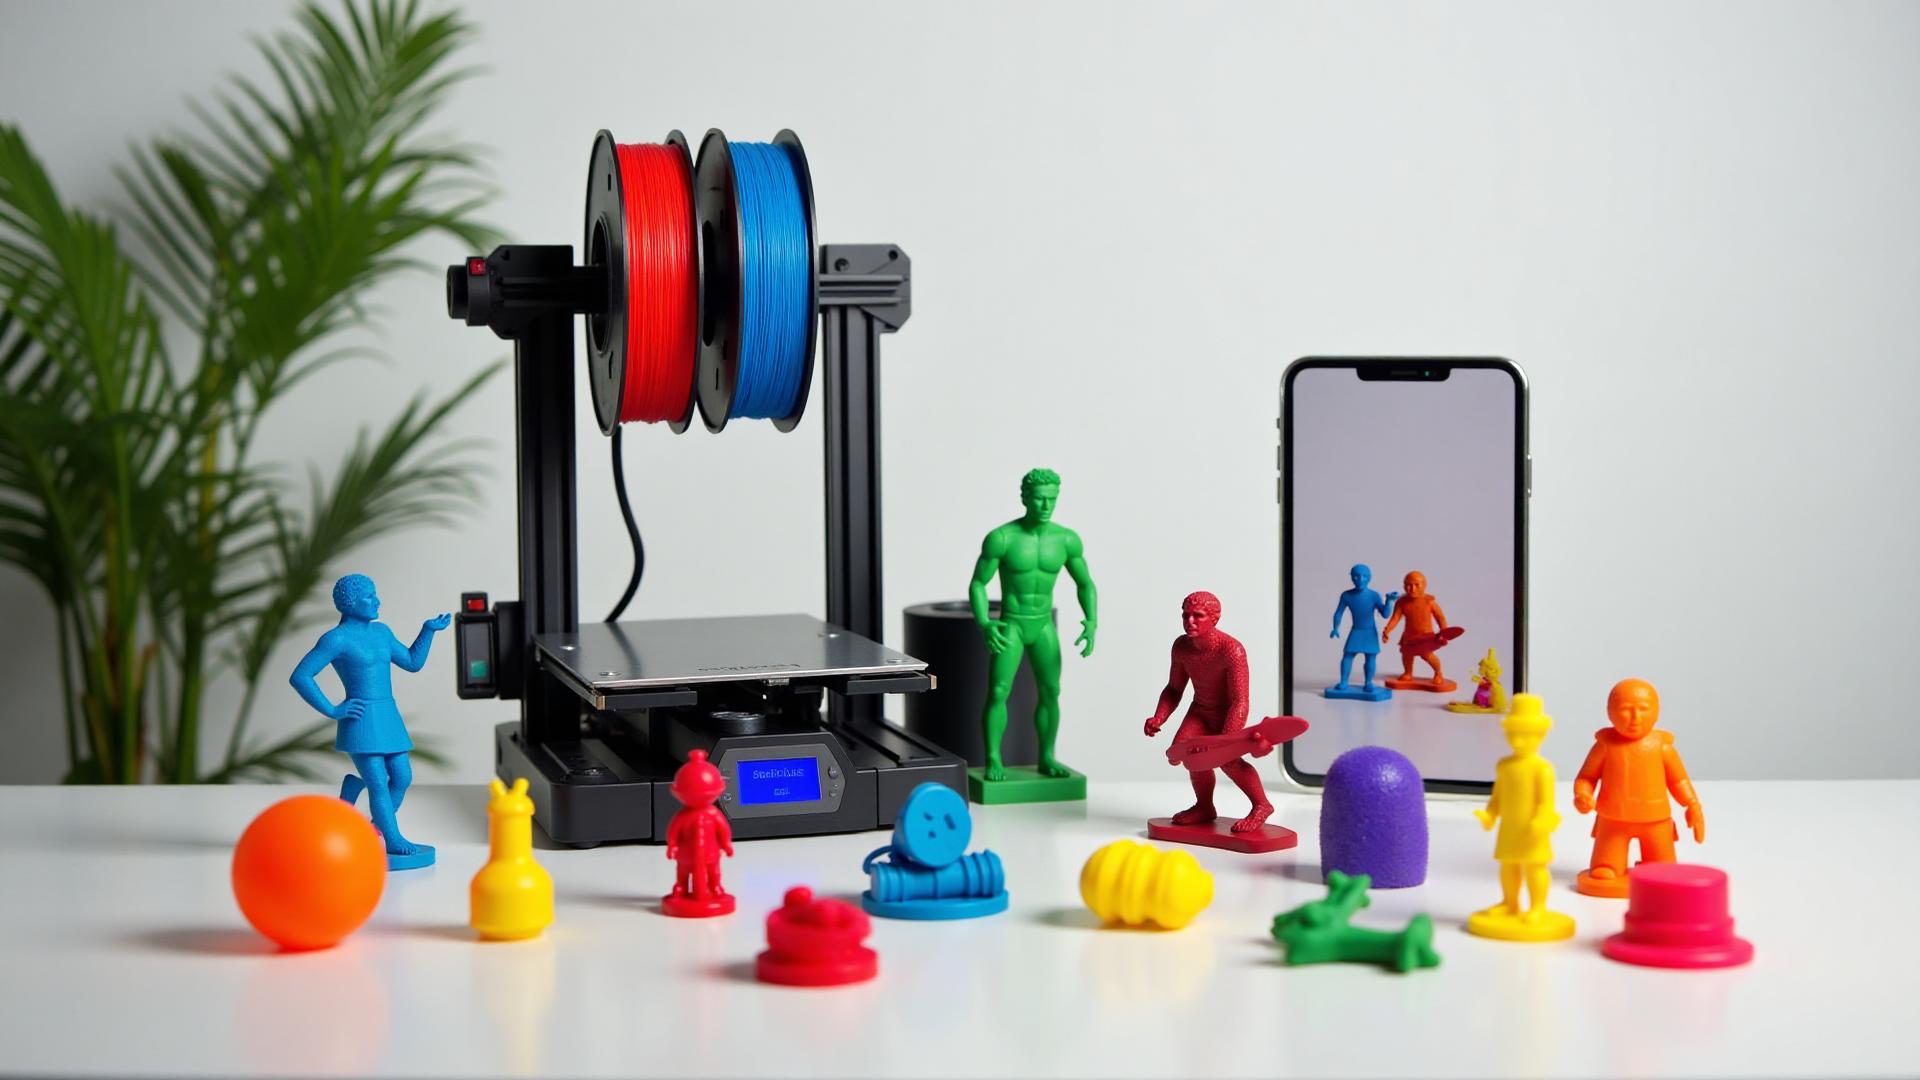
Quick Answer
The easiest multi-color 3D printing setups for a beginner are single-nozzle printers sold with the manufacturer's own automatic filament feeder and slicer — Bambu Lab's A1 series with AMS lite, Anycubic's Kobra 4 Combo with ACE 2 Pro, and Prusa's MMU3 on a compatible Prusa machine. Pick on build volume, how many filament channels you need, and whether an enclosure suits your materials. All of them still require filament loading, slicer colour assignment and purge management.
TL;DR — Quick Summary
Multi-color printing is much less manual than it used to be, but it is not hands-off.
- 1Compact / open-frame: Bambu Lab A1 mini with AMS lite — four filament positions, small footprint
- 2Larger open-frame: Bambu Lab A1 with AMS lite — 256 × 256 × 256 mm build volume
- 3Enclosed: Bambu Lab P1S with a compatible AMS unit
- 4Anycubic alternative: Kobra 4 Combo — four colours, up to eight with a supported ACE 2 Pro setup
- 5Five-filament approach: Prusa MMU3 on a compatible Prusa printer
- 6Expect: More filament used and longer prints than single-colour jobs
What is Automatic filament feeder?
Automatic filament feeder is an add-on or bundled unit that holds several filament spools and automatically unloads and loads them into a single-nozzle printer at each colour change.
Manufacturers use their own systems and names — Bambu Lab AMS and AMS lite, Anycubic ACE and ACE 2 Pro, Prusa MMU3 — and they are not interchangeable.
How Automatic Multi-Color Printing Works
Most consumer multi-color printing does not use several nozzles. It uses one nozzle and an automatic feeder that holds multiple spools. When the print reaches a colour change, the feeder retracts the current filament, loads the next one, and the printer clears the old material out of the nozzle before continuing. That is the whole idea: the printer does the filament swapping that used to be done by hand at the machine.
Each manufacturer builds its own version of this, and the differences matter when you are choosing hardware:
- Bambu Lab — AMS lite is the open feeder supplied with the A1 series. AMS is the enclosed unit used with machines such as the P1S, and later AMS generations are separate products with their own capabilities.
- Anycubic — the ACE line, currently ACE 2 Pro on the Kobra 4 Combo.
- Prusa — MMU3, a multi-material unit fitted to compatible Prusa printers and driven through PrusaSlicer.
"AMS" is Bambu Lab's product name, not a generic term. When a spec sheet or a forum post says AMS, it is talking about Bambu hardware specifically — and often about one particular generation of it.
What Actually Makes a Multi-Color Setup Easy
Ease here comes from how much of the workflow is designed to fit together, not from a score on a chart. Four things do most of the work:
Automatic calibration
Bed levelling and flow calibration handled by the printer rather than by hand, so a first layer failure does not derail a long multi-colour job.
Filament runout detection
The system pauses instead of continuing to print air when a spool empties — more relevant than usual when four spools are in play.
Matched slicer profiles
Colour assignment and purge handling configured for the exact printer and feeder you own, instead of profiles you have to build yourself.
Predictable purge behaviour
A default wipe strategy that produces clean colour boundaries without you tuning purge volumes for every material pairing.
Note what is not on that list: none of these remove setup, filament loading, slot confirmation, slicer configuration or troubleshooting. A multi-colour printer is a straightforward machine to operate, not a hands-off one.
Comparison: Beginner Multi-Color Approaches
| Printer / System | Best fit | Build volume | Multi-color system | Base channels | Expansion | Enclosed? | Key beginner consideration |
|---|---|---|---|---|---|---|---|
| Bambu Lab A1 Combo | Open-frame ecosystem with room for medium models | 256 × 256 × 256 mm | AMS lite | 4 | Not applicable | No | Open frame suits PLA and PETG; check material limits before specialty filament |
| Bambu Lab A1 mini Combo | Compact desks and smaller models | 180 × 180 × 180 mm | AMS lite | 4 | Not applicable | No | Same feeder as the A1 in a smaller footprint; build volume is the main tradeoff |
| Bambu Lab P1S (with a compatible AMS) | Enclosed option within the same ecosystem | 256 × 256 × 256 mm | AMS (sold as a combo or separately) | 4 per AMS unit | More channels require additional compatible AMS hardware and configuration | Yes | Confirm which AMS unit is included before assuming a channel count |
| Anycubic Kobra 4 Combo | Current Anycubic alternative outside the Bambu ecosystem | 260 × 260 × 260 mm | ACE 2 Pro | 4 | Up to 8 colours with a supported ACE 2 Pro configuration | No | Advertised up to 600 mm/s and a 300 °C maximum nozzle temperature |
| Prusa MMU3 (compatible Prusa printer) | Existing Prusa owners and five-filament workflows | Depends on host printer | MMU3 | 5 | Fixed at five filaments per print | Depends on host printer | Add-on unit rather than a bundled appliance; PrusaSlicer handles wipe strategy |
Figures above are advertised manufacturer specifications. Confirm the exact configuration and what is in the box on the manufacturer's current product page before buying — bundles change.
The Bambu Lab A1 and A1 mini with AMS lite
The A1 series is the most commonly recommended starting point for multi-colour printing, and the reason is structural rather than promotional: the printer, the AMS lite feeder and Bambu Studio are designed as one product, so there is comparatively little for a beginner to configure.
The A1 has a 256 × 256 × 256 mm build volume and an advertised maximum toolhead speed of 500 mm/s. The A1 mini uses the same AMS lite feeder in a smaller machine with a 180 × 180 × 180 mm build volume, so the choice between them is mostly about how large your models are and how much desk space you have — not about multi-colour capability, which is the same four filament positions on both.
AMS lite is an open, four-position feeder. That is the specific claim worth holding onto: four positions, automatic switching between them. It is a different product from the enclosed AMS units and from later AMS generations, and capabilities advertised for those newer units — including any active filament drying — should not be assumed to apply to AMS lite. If drying matters to your workflow, treat it as a separate piece of equipment to check on.
Manufacturer reference link. 3D Print Geek has no affiliate relationship with Bambu Lab and earns nothing from it.
The Bambu Lab P1S as the enclosed option
The P1S covers the same 256 × 256 × 256 mm build volume as the A1 with an advertised maximum toolhead speed of 500 mm/s, inside an enclosure and with compatibility with Bambu's AMS ecosystem. The enclosure is the reason to consider it — it gives a more stable thermal environment for materials that dislike draughts, and it contains noise and smell better than an open frame.
On colour channels, be careful with the numbers you see quoted. A single AMS unit provides four filament positions. Higher channel counts come from attaching additional compatible AMS hardware and configuring the printer to use it — they are not something a standard single unit delivers on its own. Before buying a combo, check which AMS unit is actually included.
The P1S is not easier to use than the A1. It is enclosed and more capable with demanding materials, which is a different thing.
The current Anycubic option: Kobra 4 Combo with ACE 2 Pro
Anycubic's current beginner multi-colour bundle is the Kobra 4 Combo, paired with the ACE 2 Pro system. Manufacturer information supports a 260 × 260 × 260 mm build volume, an advertised maximum speed of 600 mm/s and a 300 °C maximum nozzle temperature. On colour channels it is a four-colour setup by default that can be extended to eight colours with a supported ACE 2 Pro configuration.
The Kobra 3 generation preceded it, and older guides — including the earlier version of this one — recommended the Kobra 3 Combo. If you are shopping now, the Kobra 4 Combo is the current equivalent, and a Kobra 3 listing should be read as a previous-generation machine rather than as Anycubic's current answer.
Whether it suits you depends on whether you want to be inside the Anycubic ecosystem and whether the eight-colour expansion path is genuinely useful for the models you print. This guide makes no firsthand comparison of print output between Anycubic and Bambu machines.
Prusa MMU3: a different, still-current approach
Earlier versions of this guide told beginners to avoid Prusa's multi-material unit outright. That advice is out of date and has been removed. MMU3 is an actively supported and actively developed system — Prusa shipped a significant MMU3 firmware speed update in March 2026 — and it is compatible with current Prusa machines including the CORE One and CORE One+.
MMU3 supports up to five filaments in a single print with automatic filament switching, driven through PrusaSlicer and the EasyPrint workflow, with a choice of wipe strategies: a wipe tower, wiping into infill, or wiping into a separate object. That wipe flexibility is the practical difference from the bundled appliance approach — you have more control over where the purged material goes.
It is also a different kind of purchase. MMU3 is an add-on fitted to a compatible printer rather than a sealed combo, so it makes most sense if you already own or are buying into the Prusa ecosystem, want five channels rather than four, or value the slicer integration. It is not the easiest route for someone buying their first printer with no existing ecosystem.
Manufacturer reference link. 3D Print Geek has no affiliate relationship with Prusa and earns nothing from it.
Buying your first printer at the same time?
Beginner printer criteria — build volume, footprint, calibration and assembly — without the multi-colour layer on top.
Colour channels: there is no universal number
How many colours you can print in one job depends on the printer, the material system, how many units are attached and which configurations the manufacturer supports. There is no single answer that applies across brands:
- AMS lite (A1 series): four filament positions.
- Prusa MMU3: up to five filaments in one print.
- Anycubic Kobra 4 Combo: four colours as standard, up to eight with a supported ACE 2 Pro configuration.
- Bambu higher-channel setups: require additional compatible AMS hardware, not a single standard unit.
Expansion is also bounded. Systems support specific configurations, not unlimited chaining, so check what the manufacturer actually supports before planning a project around a channel count.
Purging and waste: the part beginners underestimate
Single-nozzle multi-colour printing has an unavoidable cost. Before a new colour can print cleanly, the previous filament has to be cleared out of the nozzle, or the boundary between colours will be muddy. That cleared material has to go somewhere, and depending on the system and slicer it goes into:
- A wipe tower — a separate structure printed alongside the model and discarded afterwards.
- A purge object — a printed shape that absorbs the purge, sometimes something useful.
- Wipe to infill — the purge goes into the model's internal infill, where it is hidden.
- Other system-specific strategies — some printers eject purge material entirely.
Wiping into infill or into a useful object recovers some of that material, which is why the wipe strategy is worth understanding rather than leaving at whatever the slicer defaults to. But frequent colour changes still increase total filament consumption compared with the same model in one colour. Treat "smart purging" claims as a description of where the waste goes, not a claim that it disappears.
Print time: plan for longer
Every filament swap costs time — unloading, loading, purging, and moving to and from the wipe location. A model with frequent colour changes can take substantially longer than the same geometry printed in a single colour.
How much longer depends on the number of swaps, the purge strategy, the model's geometry, how the colours are distributed through the layers, and the printer and feeder in use. A model with colours split into distinct vertical bands swaps far less often than one where four colours appear on nearly every layer — the same colour count can produce very different print times.
The practical habit: check the slicer's estimated time and filament usage after slicing, and compare it against a single-colour slice of the same model before committing to a long job.
Material compatibility: check before you buy spools
Multi-colour feeders do not support every filament equally. Filament travels a longer and more constrained path than it does from a plain spool holder, which is why flexible, brittle, moisture-sensitive and abrasive materials can be restricted or unsupported depending on the system. Abrasive filaments may also need a hardened nozzle and compatible feeder parts.
Before buying filament specifically for a multi-colour system, verify four things against that system's own documentation: printer compatibility, feeder compatibility, spool dimensions (some feeders will not accept oversized or unusually shaped spools), and material restrictions.
On identification: some manufacturers tag their own spools with RFID so the printer recognises material and colour automatically. That is a feature of specific products, not a requirement for multi-colour printing, and third-party spools generally have to be selected manually in the printer or slicer. Third-party filament works in most consumer systems — it just does not announce itself.
Choosing filament for your first colour prints
Which beginner materials are forgiving, and the settings tradeoffs between them — worth reading before buying four spools at once.
Which multi-color setup fits you?
Choose a compact or open-frame system if
Desk space is limited, PLA and PETG hobby printing is what you actually do, and four colour channels are enough for your models. The A1 mini covers the small-footprint case; the A1 gives you a larger build volume with the same feeder.
Consider an enclosed system if
The materials or the room make an enclosure worthwhile, or you want the extra capability that comes with it. The P1S with a compatible AMS unit is the enclosed route inside the same ecosystem — confirm which AMS is included.
Consider the current Anycubic system if
You would rather not be in the Bambu ecosystem, or the ACE 2 Pro feature set and the four-to-eight colour expansion path suit your projects. The Kobra 4 Combo is the current bundle.
Consider Prusa MMU3 if
You are already in the compatible Prusa ecosystem, five-filament switching fits your workflow better than four, or PrusaSlicer and EasyPrint integration and the wipe-strategy control matter to how you work.
There is no overall winner here, and the honest reason is that these systems optimise for different things. Match the setup to your build volume, channel count, enclosure and ecosystem needs rather than looking for a single best machine.
Multi-color printing tips for beginners
- Start with high-contrast colours. Black against white makes colour bleeding and insufficient purging immediately visible, so you can correct settings early.
- Use one filament brand and type across the colours. Mixing brands can mean different temperature and flow behaviour between slots, which shows up at colour transitions.
- Understand your purge setting before changing it. Reducing purge volume saves filament but risks colour contamination; wiping into infill recovers material without reducing the purge itself.
- Keep filament dry. Moisture causes poor extrusion and inconsistent colour changes. Store spools sealed with desiccant, and dry them separately if your setup has no drying capability of its own.
- Begin with models already prepared for multi-colour printing. Printables and similar sites host models with colour assignments included, which lets you learn the workflow before painting your own.
- Watch the first few colour changes. Most multi-colour failures — a mis-assigned slot, a jam in the feeder path, a tower that has come loose — reveal themselves within the first handful of swaps rather than at hour nine.
Frequently Asked Questions
What is the easiest type of multi-color system for a beginner?
For most beginners the least demanding option is a single-nozzle printer paired with the manufacturer's own automatic filament feeder, set up through that manufacturer's slicer. Because the printer, feeder and slicer profiles are designed together, there is less configuration to get right than with a mixed or self-assembled multi-material setup. It still involves loading filament, confirming each slot and reviewing purge settings before printing.
What is the difference between AMS, AMS lite, ACE and MMU3?
They are separate systems from different manufacturers, not interchangeable names for one technology. AMS lite is Bambu Lab's four-position feeder supplied with the A1 series. AMS is Bambu Lab's enclosed unit used with machines such as the P1S, and later AMS generations add their own capabilities. ACE and ACE 2 Pro are Anycubic's colour systems. MMU3 is Prusa's multi-material unit. Capabilities, channel counts and supported materials differ per system, so check the documentation for the exact unit you are buying.
How many colors can consumer multi-color printers use?
It depends on the printer, the material system and how many units are attached. Bambu Lab's AMS lite provides four filament positions. Prusa's MMU3 supports up to five filaments in one print. Anycubic's Kobra 4 Combo is a four-colour setup that can be expanded to eight colours with a supported ACE 2 Pro configuration. Higher channel counts on Bambu machines require additional compatible AMS hardware rather than coming from a single standard unit, and no system expands indefinitely.
Does multi-color printing waste filament?
Single-nozzle multi-colour printing generally has to clear the previous filament out of the nozzle before the next colour prints cleanly. Depending on the system and slicer that material goes into a wipe tower, a purge object, the infill of the model, or another system-specific destination. Some of it can be reused as part of the model, but frequent colour changes do increase total filament consumption compared with the same model printed in one colour.
Does multi-color printing take longer?
Usually yes. Every filament swap adds unloading, loading and purging time on top of the normal printing. A model with frequent colour changes can take substantially longer than the same geometry in a single colour. How much longer depends on the number of swaps, the purge strategy, the model geometry, how the colours are arranged through the layers, and the printer and feeder involved.
Can I use third-party filament in a multi-color system?
In most consumer systems third-party filament can be used, but automatic identification is a separate matter. Some manufacturers tag their own spools with RFID so the printer recognises the material and colour automatically; third-party spools generally have to be selected manually in the printer or slicer. Spool dimensions also matter, because some feeders have limited space for oversized or unusually shaped spools.
Can TPU or abrasive filament be used in every feeder?
No. Multi-colour feeders route filament through longer, more constrained paths than a direct spool holder, so flexible, brittle, moisture-sensitive and abrasive materials can be restricted or unsupported depending on the system. Abrasive filaments may also require a hardened nozzle and compatible feeder parts. Check the feeder's own material list before buying filament specifically for multi-colour work.
Do I need an enclosed printer for multi-color printing?
Not for PLA and most PETG work, which is what the majority of hobby multi-colour printing uses. An enclosure becomes relevant when the materials you want to print need a stable warm environment, or when the enclosure suits where the printer lives. Choose enclosure based on the materials and workflow you expect, not on the assumption that multi-colour printing requires it.
Is multi-color printing as easy as single-color printing?
It is close, but not identical. Automatic feeders remove the manual filament swaps that made multi-colour printing tedious, and that is a genuine step change. They still add filament loading, slot confirmation, slicer colour assignment, purge configuration, longer prints, more filament use, and extra points where a jam or a mis-set slot can fail a print. Expect a straightforward workflow rather than a completely hands-off one.
The short version
If you want the least friction getting into multi-colour printing, buy a printer and feeder designed together by the same manufacturer and use that manufacturer's slicer. Within that, the A1 series with AMS lite is the common open-frame starting point, the P1S with a compatible AMS unit is the enclosed version of the same idea, the Kobra 4 Combo with ACE 2 Pro is the current Anycubic route, and MMU3 makes sense if you are already a Prusa owner or want five channels.
Decide on build volume, channel count and enclosure first; those are durable criteria. Then check current pricing and what is actually in the box directly with the manufacturer, because bundle contents and prices change far faster than any guide can track.
Related Articles
Best 3D Printers for Beginners Under $300: Sovol ACE Guide
A needs-based look at beginner 3D printers around the $300 mark, covering build volume, setup and calibration.
Best High-Speed 3D Printer for Home Use: Sovol SV08 Guide
What advertised print speeds actually mean at home, and the specifications worth comparing on a fast machine.
Best Filament for Beginners (3D Printing Made Easy)
Straightforward material picks, print settings and tradeoffs — useful before you buy four spools for a colour job.